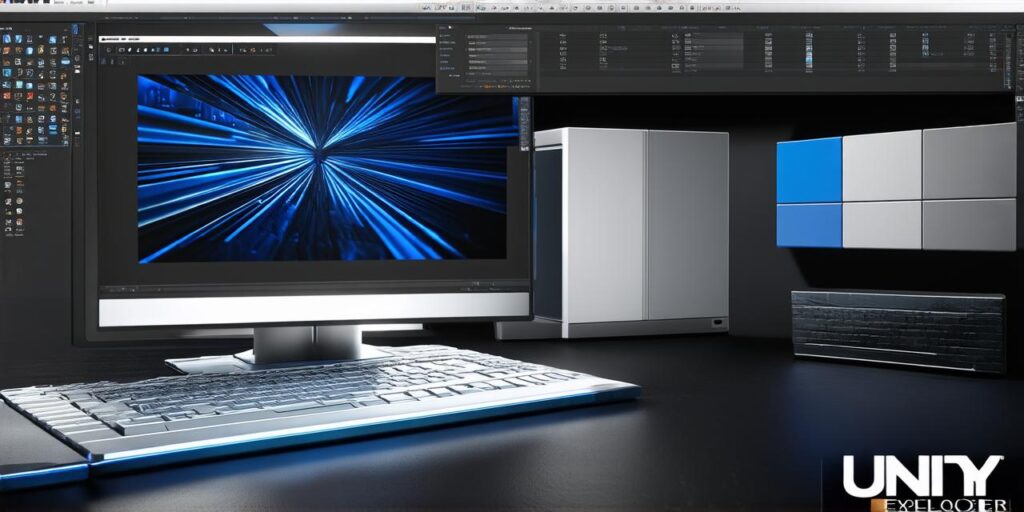
Are you a developer looking for an efficient way to manage your Unity projects? Look no further than Unity Explorer, a powerful tool that allows you to easily organize and access your assets.
Prerequisites
Before you begin, make sure you have the following:
- A computer running Windows 7 or later
- Unity installed and configured on your computer
- The latest version of Visual Studio or another C IDE installed on your computer
Getting Started
To set up Unity Explorer standalone, follow these steps:
-
Go to the Unity Explorer website and download the latest version of Unity Explorer. Make sure to select the “Standalone” option during the installation process.
-
Once you have downloaded the installer, run it and follow the on-screen instructions to install Unity Explorer. This will typically involve selecting a destination folder for the program and clicking “Install.”
-
After installation is complete, open Unity Explorer by searching for it in your computer’s Start menu or by double-clicking on the Unity Explorer icon in your application launcher.

Setting Up Your Project
Now that you have installed and launched Unity Explorer, it’s time to set up your project. Follow these steps:
-
Open Unity and create a new project. You can do this by going to the “File” menu and selecting “New” or by right-clicking on an empty area of the screen and selecting “Create.”
-
In Unity Explorer, click the “Add Project” button in the top left corner of the window. Browse to the location of your Unity project and select it. Click “Open” to add the project to Unity Explorer.
-
Now that your project is added to Unity Explorer, you can start organizing your assets. Use the left-hand sidebar to navigate through your project folders and subfolders. Drag and drop assets into the appropriate folders to keep your project well-organized.
Step 4: Customize Your Settings
Unity Explorer offers a variety of customization options to help you tailor the tool to your needs. You can adjust settings such as the default view, the font size, and the color scheme. To access these settings, click the “Settings” button in the top right corner of the window.
Summary
Setting up the standalone version of Unity Explorer is a quick and easy process that will help you manage your Unity projects more efficiently. With Unity Explorer, you can easily organize your assets, access them quickly, and customize the tool to suit your needs. So why wait? Give Unity Explorer a try today and see how it can revolutionize the way you work with Unity.